Showing posts with label decor. Show all posts

Thursday, June 19, 2014

Pipe Cleaner Fireworks


This week, I have the extreme pleasure of joining up with Emily of Nap-Time Creations, along with lots of other amazing bloggers to present a huge assortment of summer fun activities, recipes, DIY's, etc. Please hop on over to the blogs and projects featured at the end of this post for all of the amazing ideas!

Ahhhh, summer! How do I love thee? Let me count the degrees! School is out, pool is open, and picnics are upon us! If that's not enough, summer also brings with it the celebration of the amazing country in which we live! And fireworks...So. Many. Fireworks! I mean, really, is there anything cooler than watching an array of colors, light, sparkles, and noise explode above you? I think not! Here is a fun way to get the kiddos involved in the excitement of the approaching Fourth of July by creating some cute and simple fireworks of their own...
Materials:

*red, sparkly, pipe cleaners (2-3 per firework)
*blue, sparkly, pipe cleaners (2-3 per firework)
*scissors

Instructions:

1. Cut 2 red and 2 blue pipe cleaners in half. Place all pieces into one bundle so that the ends line up.

2. Using a small piece of another pipe cleaner (about 4"), wrap it around the middle of the bundle, securing all pipe cleaners in place.

3. Pull each piece of the bundled pipe cleaners apart and in various directions to form a firework.
4. Adjust pipe cleaners so that they are spread somewhat evenly in all directions.

The options for these little creations are truly limitless. I am currently using mine to embellish the Fourth of July display in my home. Here are some other suggestions to use to celebrate your American pride:


*Place on your table as decoration for Fourth of July dinners and picnics
*Use as place card holders
*Wrap them around dowel rods and place in a vase for a cute and patriotic centerpiece
*Give as gifts to friends, teachers and family members with a tag that reads "You're a real firecracker!"
*Tie fishing wire around them and hang for added sparkle


GOD BLESS AMERICA!!!!!

Summer fun 3
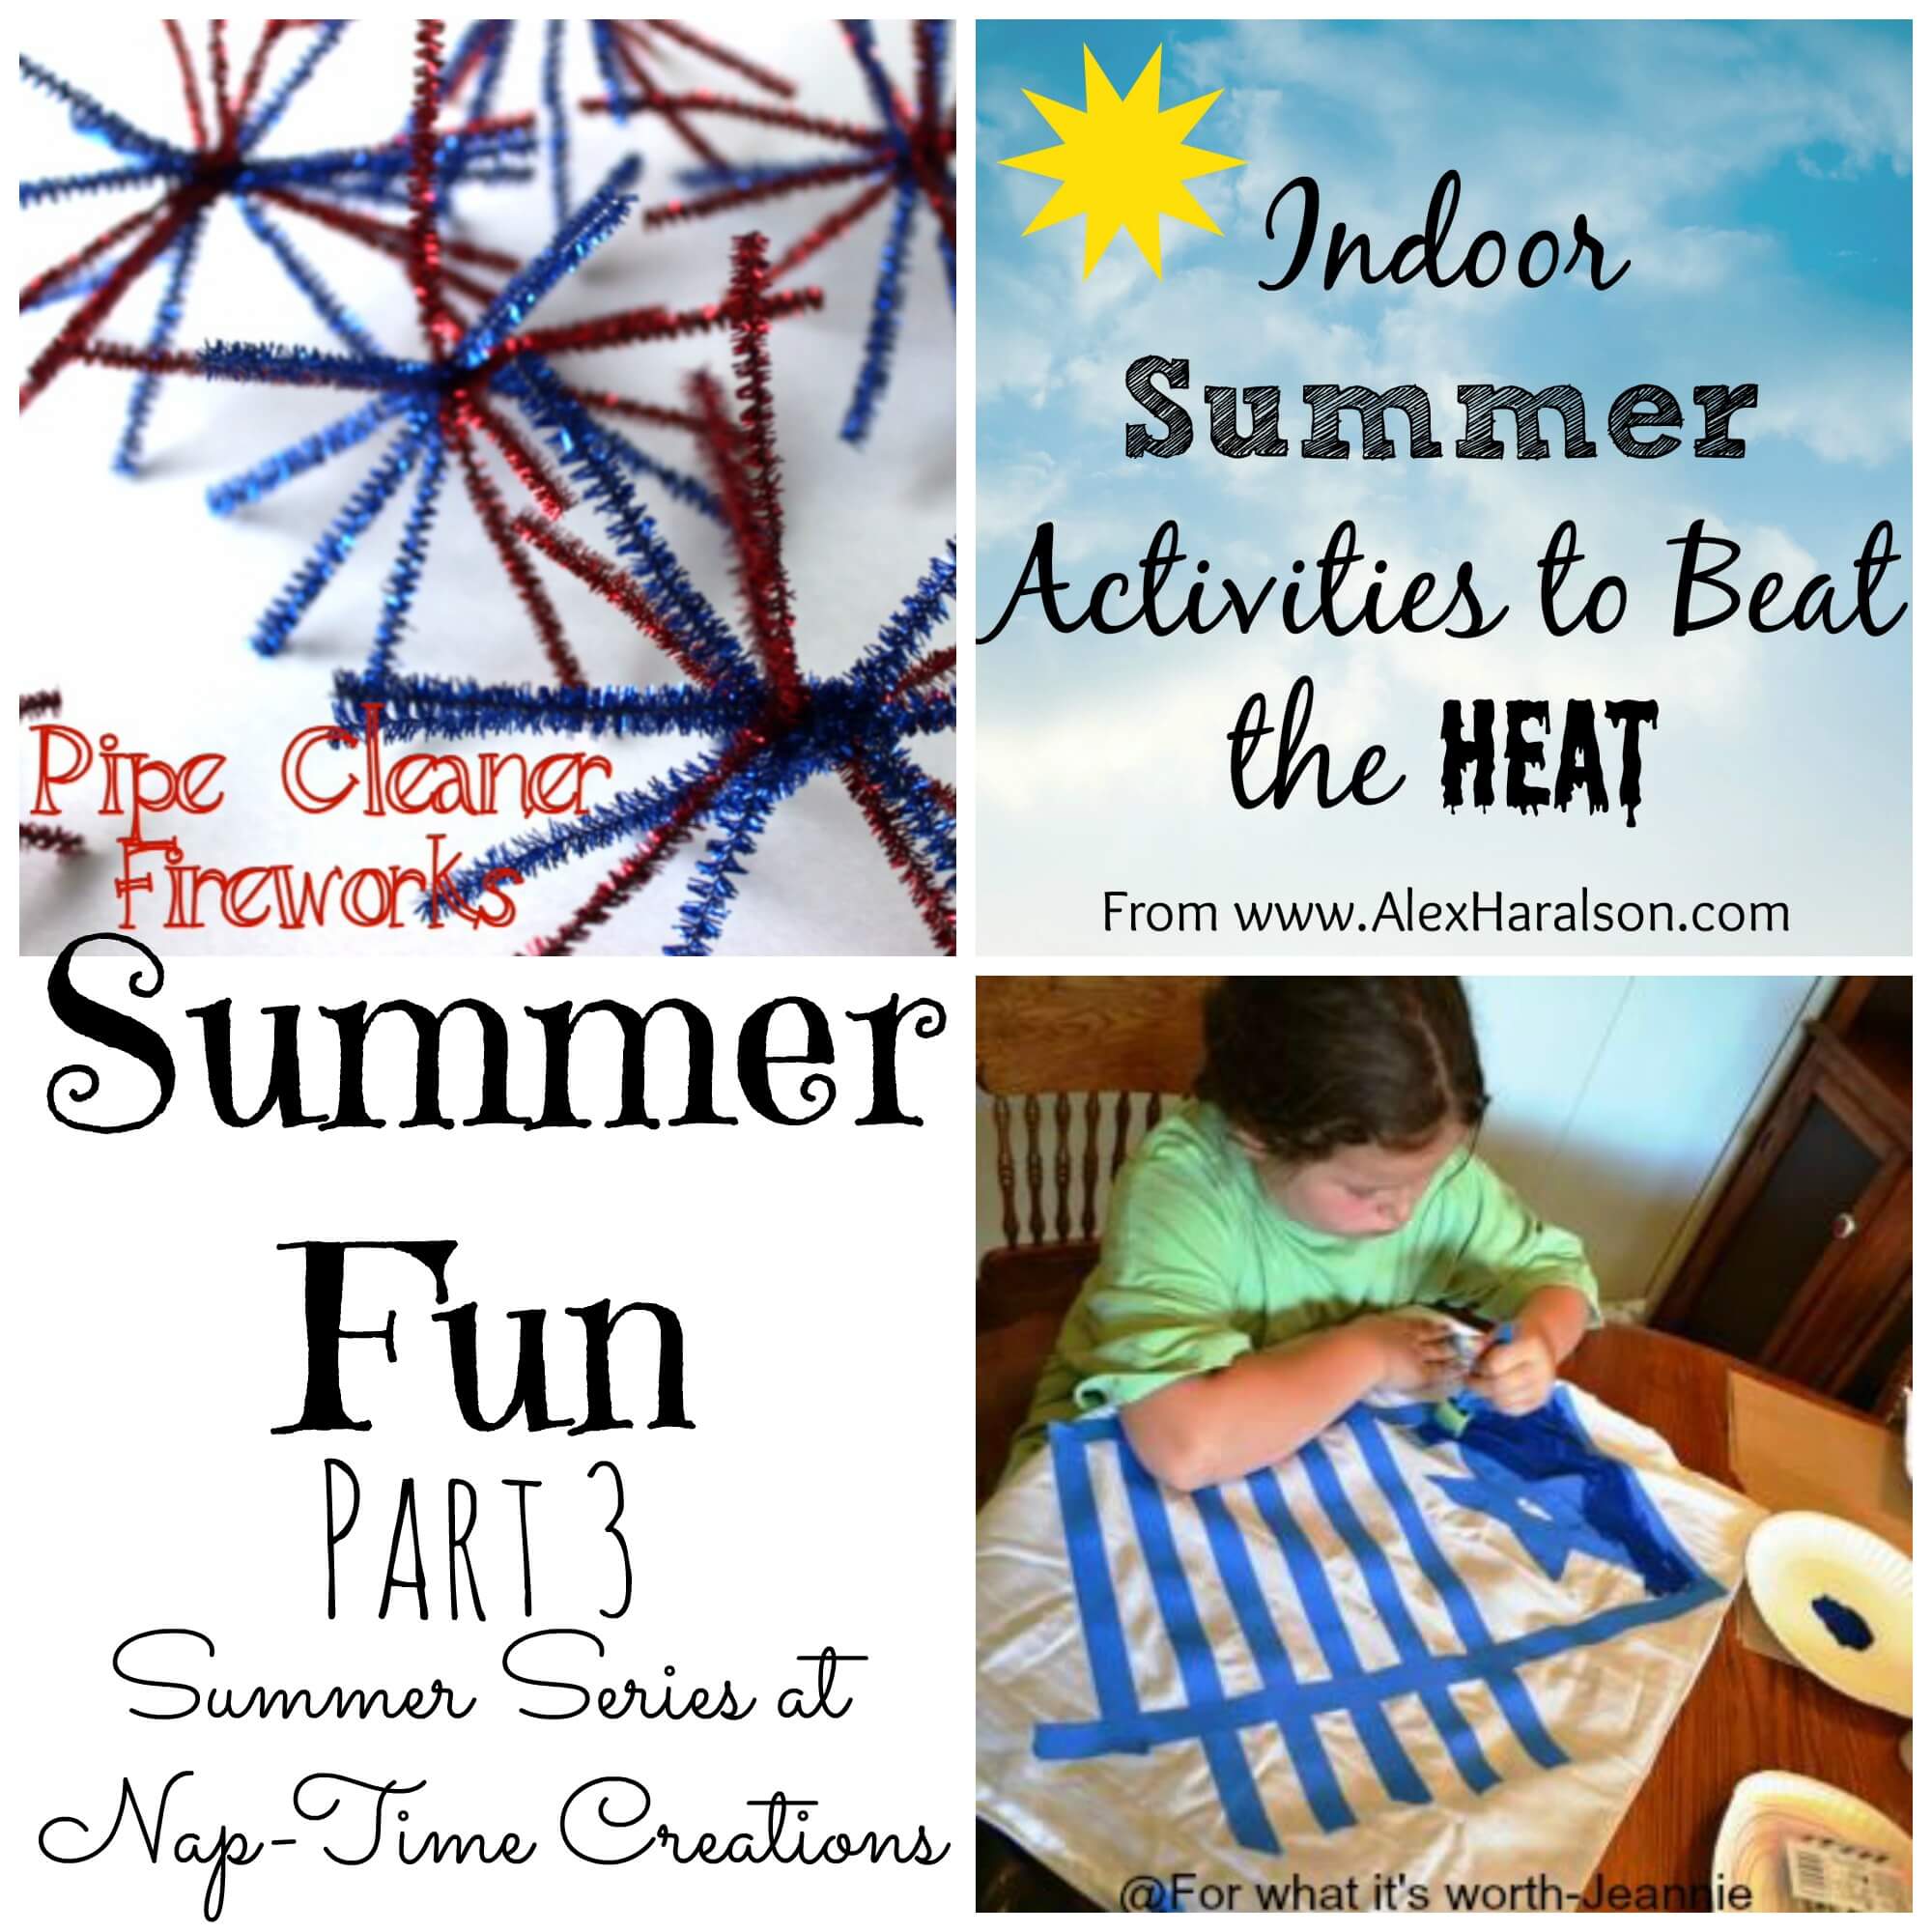
Pottery Barn Knock off Pillow by For What Its Worth
Pipe Cleaner Fireworks by Hoyby Crafts
Indoor Summer Fun Ideas by Alex Haralson on Nap-Time Creations
Check out the fun posts from last week: Summer Fun part 2
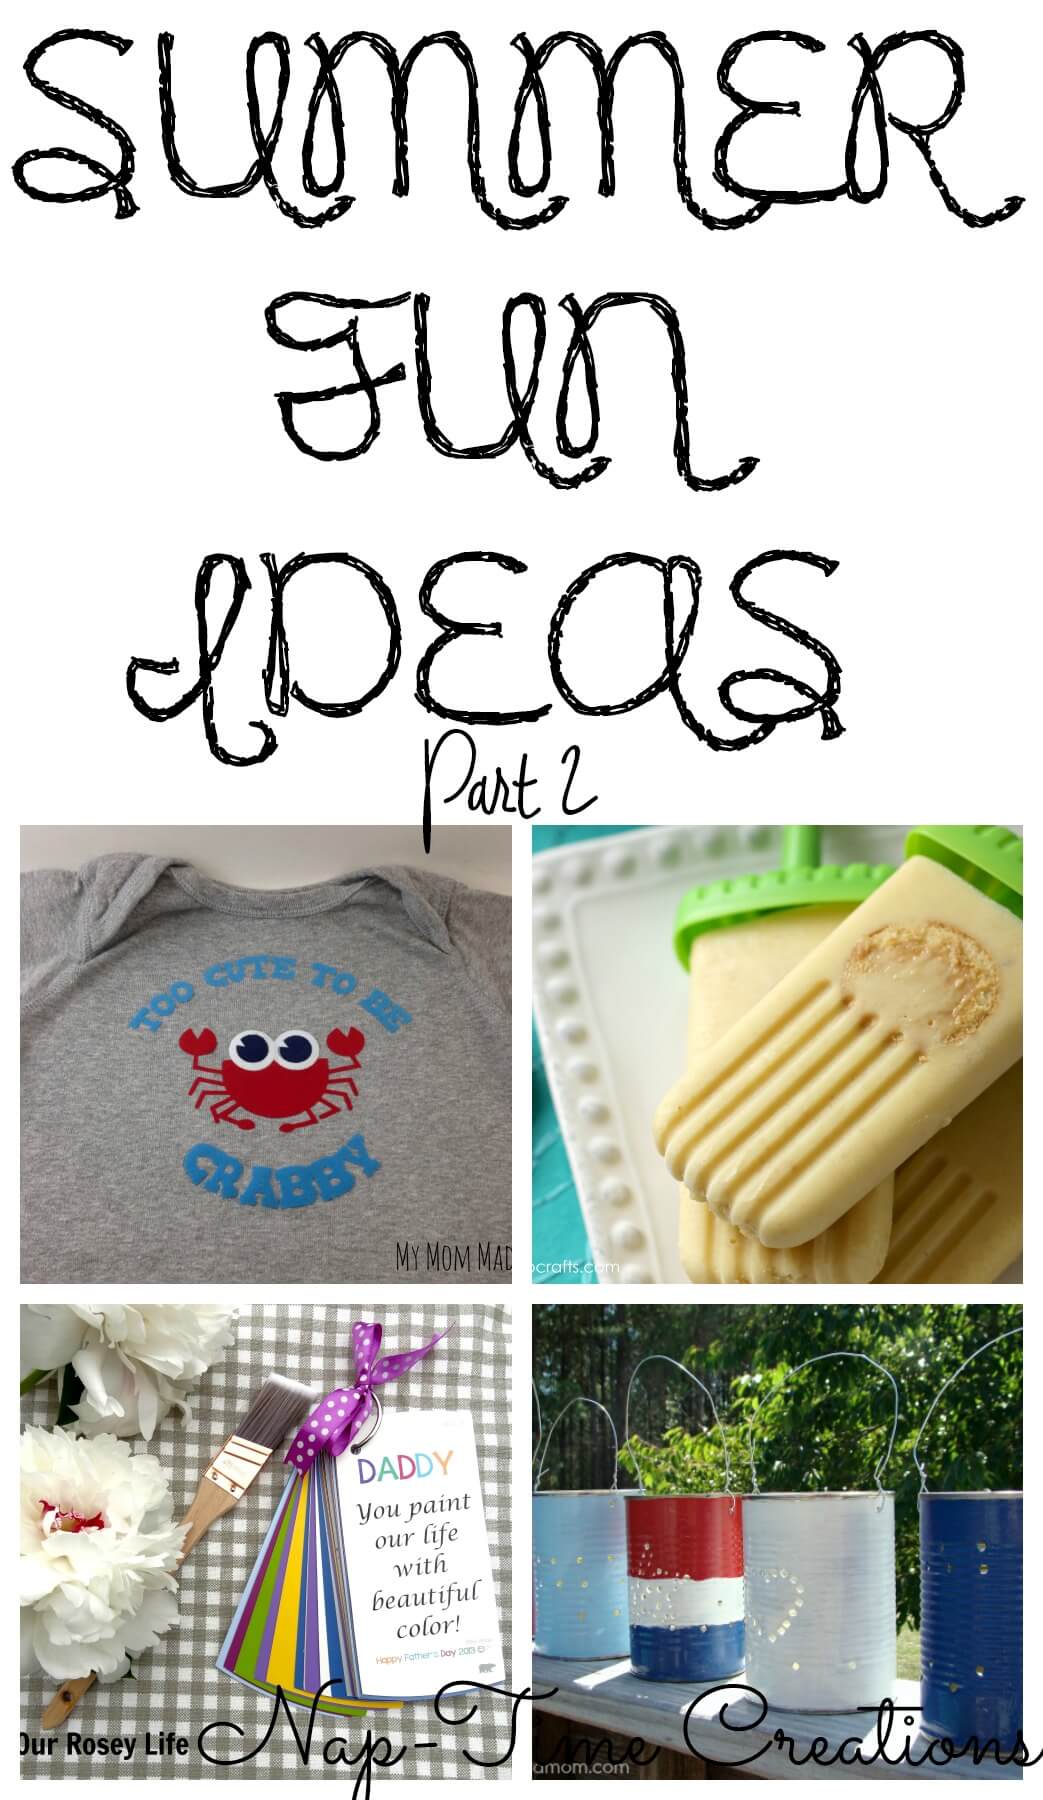
Banana Pudding Pops by Ginger Snap Crafts on Nap-Time Creations
Tin Can Lanterns by About a Mom
Crabby Onesie by My Mom Made That

Thursday, April 17, 2014

Burlap Bunny Wreath


How is it even possible that Easter is in 3 days?!?! While I have not slacked on creating lots-o-stuff for the Easter holiday, I am finally getting around to posting them, now that the month has (hopefully) died down a bit! Up first...a cute, burlap, bunny wreath! Here's how I created it:

Materials:

-burlap ribbon (about 20 feet)
-wire wreath form
-scissors
-pink tulle
-wire (mine was a very thin gauge, as that's what I had on hand, but I would recommend a thicker wire)
-wire cutters
-Scotch tape

Instructions:

1. Weave a burlap ribbon through the wire wreath, as shown in this tutorial.
2. Bend and fold a piece of ribbon 20" long, as shown in the pictures below.
3. Thread wire through the point of the folded ribbon and twist to secure, as shown in the pictures below
4. Place wire the entire length of the ribbon down its center. Thread wire through the bottom of the folded ribbon (pictured below) and twist/secure, leaving a tail of about 4" of wire at the end.
5. Repeat the process of threading wire through another piece of 20" ribbon.

6. Wrap the extra wire from both pieces of folded ribbon around the wreath about 8" apart (creating bunny ears). Keep in mind the ears may be floppy, so you will need to reinforce with tape when hanging.
7. Tie pink tulle into a bow and thread wire through the back of it. Wrap the wire around the wreath so that the bow sits at the bottom of a rabbit ear.

8. Hang up the wreath and reinforce the ears with tape (place on the wire behind each of the ears so that it does not show) so that they stay up.

My favorite element of this wreath is that, once Easter is over, the ears can come off and flowers, ribbon, bows, etc. can be added for a beautiful spring wreath to last you through the remainder of the season! How cool is that?!?!

Here's hoping the Easter bunny brings you everything your heart desires!


Thursday, March 21, 2013

Wizard of Oz Door Decor

Our stellar door
Our school recently held a door decorating contest that offered a first place prize of a pizza party! Fortunately for me, I have the arts-and-craftiest bunch of staff members a girl could ever want or need. After a theme was determined, (how awesome is this theme, btw?) and parts were assigned, staff was all over it, and the final creation became more than I ever could've imagined! I would looooove to be able to show you each of the characters individually; however, I would love even more to keep my job and protect the privacy of my students and staff, so I'm afraid this is the best I can do. Oh, by the way, our pizza party is scheduled for next Friday :0)

A closer view-How awesome is the rolled, construction paper Emerald City???


The bottom half with some areas strategically blurred for the sake of privacy


Sunday, December 11, 2011

Scrabble Tile Name Plaques


Scrabble tile frame featuring my name, my husband's name, our last name, and "Love"


If you've read my previous posts, you know that my newest craft material obsession is Scrabble tiles! In addition to the Scrabble tile pendants I've been making, I am now branching out to Scrabble tile frames. I simply bought a frame and cut out houndstooth scrapbook paper to fit the inside of the frame for the background. I then laid out the words I wanted to display in crossword puzzle fashion (this part was probably the most time-consuming, as it was a little difficult to make everything fit the frame and look balanced). Once I decided on the layout, I used double-sided tape on the backs of each tile to adhere them to the background and placed them in the frame. Fortunately, the Scrabble tiles are thin enough that everything fit perfectly and I was even able to keep the glass on the frame (which I had not originally expected!). I had so much fun making one for my house for my husband and I (above), that I decided to make one for my brother as a house-warming gift.


Frame made for my brother and his family