Showing posts with label table. Show all posts

Thursday, June 19, 2014

Pipe Cleaner Fireworks


This week, I have the extreme pleasure of joining up with Emily of Nap-Time Creations, along with lots of other amazing bloggers to present a huge assortment of summer fun activities, recipes, DIY's, etc. Please hop on over to the blogs and projects featured at the end of this post for all of the amazing ideas!

Ahhhh, summer! How do I love thee? Let me count the degrees! School is out, pool is open, and picnics are upon us! If that's not enough, summer also brings with it the celebration of the amazing country in which we live! And fireworks...So. Many. Fireworks! I mean, really, is there anything cooler than watching an array of colors, light, sparkles, and noise explode above you? I think not! Here is a fun way to get the kiddos involved in the excitement of the approaching Fourth of July by creating some cute and simple fireworks of their own...
Materials:

*red, sparkly, pipe cleaners (2-3 per firework)
*blue, sparkly, pipe cleaners (2-3 per firework)
*scissors

Instructions:

1. Cut 2 red and 2 blue pipe cleaners in half. Place all pieces into one bundle so that the ends line up.

2. Using a small piece of another pipe cleaner (about 4"), wrap it around the middle of the bundle, securing all pipe cleaners in place.

3. Pull each piece of the bundled pipe cleaners apart and in various directions to form a firework.
4. Adjust pipe cleaners so that they are spread somewhat evenly in all directions.

The options for these little creations are truly limitless. I am currently using mine to embellish the Fourth of July display in my home. Here are some other suggestions to use to celebrate your American pride:


*Place on your table as decoration for Fourth of July dinners and picnics
*Use as place card holders
*Wrap them around dowel rods and place in a vase for a cute and patriotic centerpiece
*Give as gifts to friends, teachers and family members with a tag that reads "You're a real firecracker!"
*Tie fishing wire around them and hang for added sparkle


GOD BLESS AMERICA!!!!!


Summer fun 3
Pottery Barn Knock off Pillow by For What Its Worth
Pipe Cleaner Fireworks by Hoyby Crafts
Indoor Summer Fun Ideas by Alex Haralson on Nap-Time Creations
Check out the fun posts from last week: Summer Fun part 2
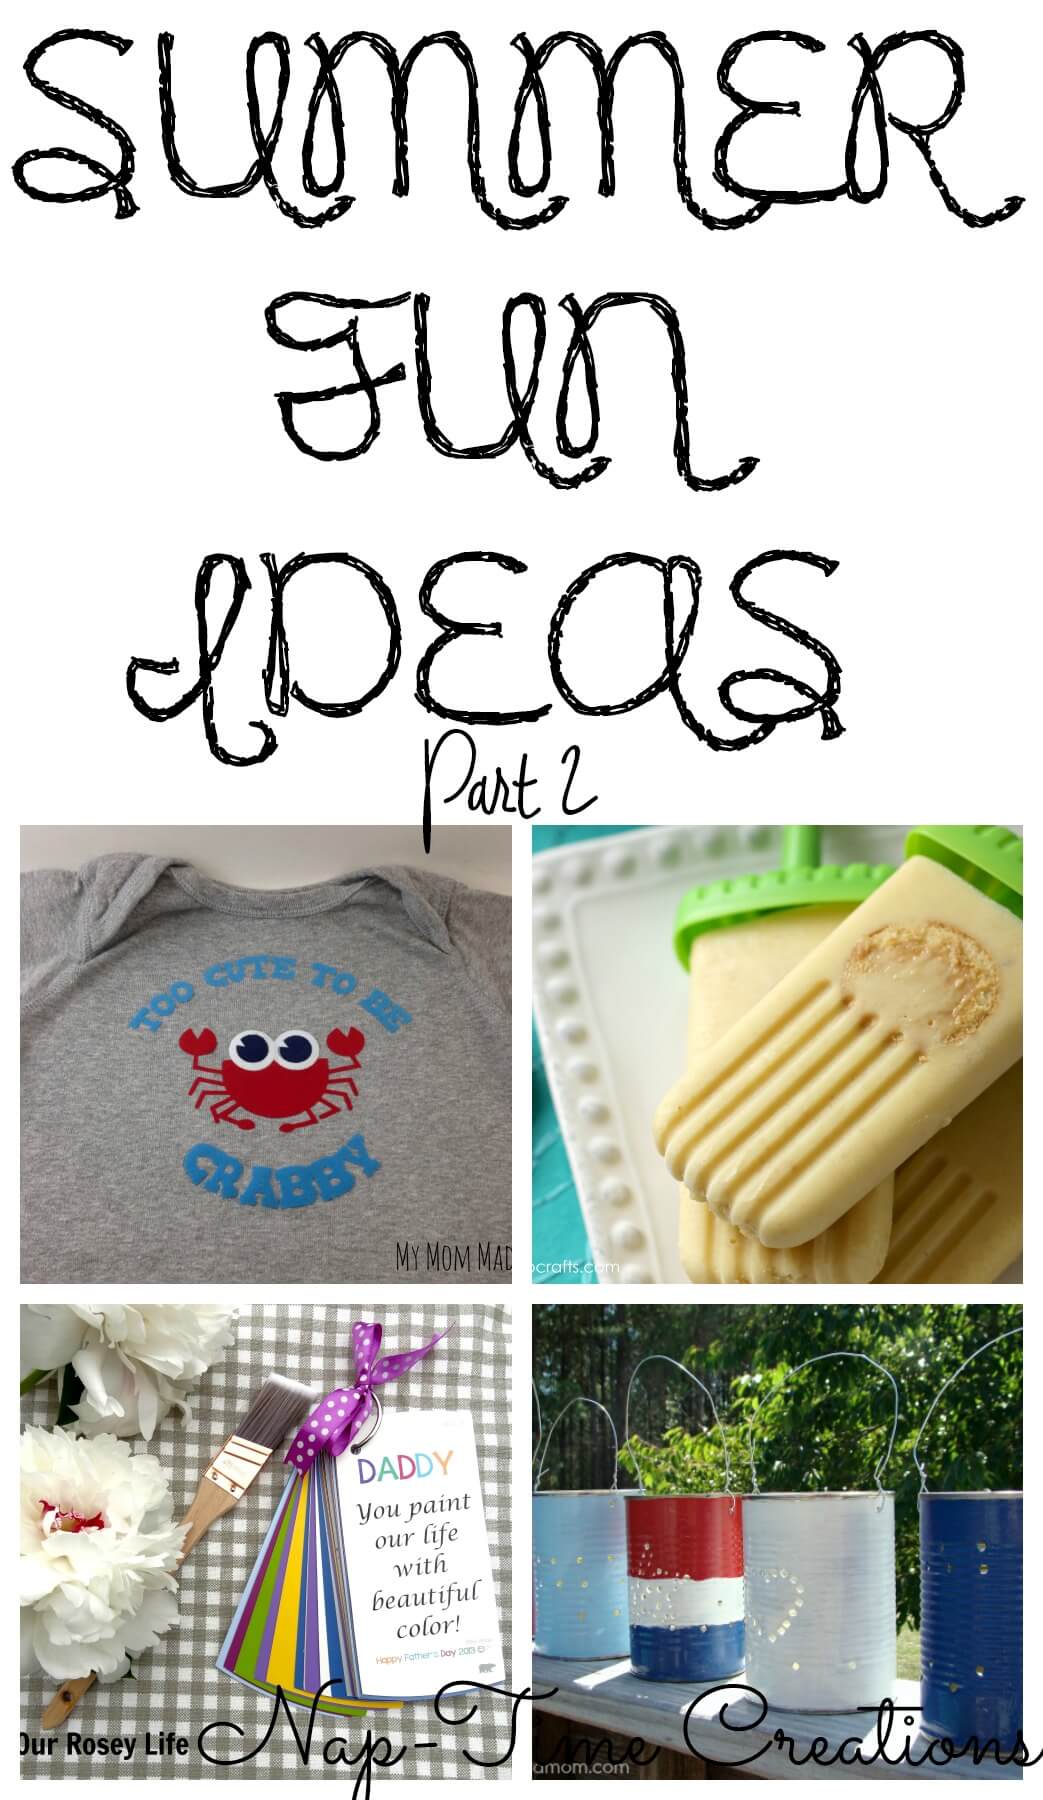
Banana Pudding Pops by Ginger Snap Crafts on Nap-Time Creations
Tin Can Lanterns by About a Mom
Crabby Onesie by My Mom Made That

Sunday, December 8, 2013

Poinsettia Napkin Holders from Shower Curtain Rings

Its the most expensive wonderful time of the year!!!

As much as I love how well my holiday decorations are coming along, I can't get over how quickly their expenses add up! Between the purchase of a pre-lit tree (which I love and don't regrey buying at all), outdoor lighting, wreaths, and lots of odds and ends, I think its safe to say my wallet took a massive beating this Christmas...and that's without adding in the cost of presents! Yikes! Needless to say, I am extremely grateful for projects like this one that add to the seasonal decorum without breaking the bank! Here is how I transformed curtain rings, craft wire, and poinsettias into beautiful napkin rings using washi tape:

Materials:

-curtain rings (I found 12 for $1 at my local dollar store)
-washi tape (PS-Costco is currently selling a washi tape holder and 20 rolls of tape for $19.99! Merry Christmas to me!!!)
-artificial poinsettias
-floral embellishment (I purchased 2 small bundles of frosted berries at Michael's)
-craft wire
-wire cutters
Directions:

1. Wrap washi tape around four curtain rings, covering them entirely
2. Place two small sprigs of frosted berries on each side of a poinsettia and connect using craft wire, making sure to leave a 4-5" tail of wire to wrap around curtain ring
3. Wrap remaining wire around curtain ring, securing the flower to it tightly
4. Cover any exposed wire with additional washi tape
5. Place napkins inside of rings and display proudly!
Wishing you a table filled with family, food, friendship and (as always) fun!!! Happy Holidays!

Tuesday, August 13, 2013

Thrift Store Table Revamped

In my attempt to begin sitting on my front porch and getting to know my neighbors better (I have a fully fenced-in backyard that I consider my happy place, so I typically spend my summers there), I thought I would redec a thrift store table I had recently picked up, in the hopes that it would become my morning coffee-sipping space. I started by unscrewing each of the table legs from the tabletop and spray painting them with two coats ofoff-white using Krylon indoor/outdoor paint. I then spray painted the tabletop hunter green.


After the tabletop was completely dry, I placed pieces of painters tape from one end of the tabletop to another and continued to overlap them randomly. Using the same off-white, spray paint as on the table legs, I painted two coats over the tape. Once the tabletop had dried, I removed the painter's tape to reveal a pretty nifty design. After some brief touch ups to areas that looked a litte funky, I reconnected the legs to the tabletop and Voila...I present you my morning coffee spot!
Table similar to the one I bought at my local thrift store

I really should've taken more "before" shots (ahhh, hindsight...), but here is a picture of the tabletop covered with painter's tape and two coats of off-white, paint

Completed project

Coffee corner