Showing posts with label holder. Show all posts

Thursday, June 19, 2014

Pipe Cleaner Fireworks


This week, I have the extreme pleasure of joining up with Emily of Nap-Time Creations, along with lots of other amazing bloggers to present a huge assortment of summer fun activities, recipes, DIY's, etc. Please hop on over to the blogs and projects featured at the end of this post for all of the amazing ideas!

Ahhhh, summer! How do I love thee? Let me count the degrees! School is out, pool is open, and picnics are upon us! If that's not enough, summer also brings with it the celebration of the amazing country in which we live! And fireworks...So. Many. Fireworks! I mean, really, is there anything cooler than watching an array of colors, light, sparkles, and noise explode above you? I think not! Here is a fun way to get the kiddos involved in the excitement of the approaching Fourth of July by creating some cute and simple fireworks of their own...
Materials:

*red, sparkly, pipe cleaners (2-3 per firework)
*blue, sparkly, pipe cleaners (2-3 per firework)
*scissors

Instructions:

1. Cut 2 red and 2 blue pipe cleaners in half. Place all pieces into one bundle so that the ends line up.

2. Using a small piece of another pipe cleaner (about 4"), wrap it around the middle of the bundle, securing all pipe cleaners in place.

3. Pull each piece of the bundled pipe cleaners apart and in various directions to form a firework.
4. Adjust pipe cleaners so that they are spread somewhat evenly in all directions.

The options for these little creations are truly limitless. I am currently using mine to embellish the Fourth of July display in my home. Here are some other suggestions to use to celebrate your American pride:


*Place on your table as decoration for Fourth of July dinners and picnics
*Use as place card holders
*Wrap them around dowel rods and place in a vase for a cute and patriotic centerpiece
*Give as gifts to friends, teachers and family members with a tag that reads "You're a real firecracker!"
*Tie fishing wire around them and hang for added sparkle


GOD BLESS AMERICA!!!!!
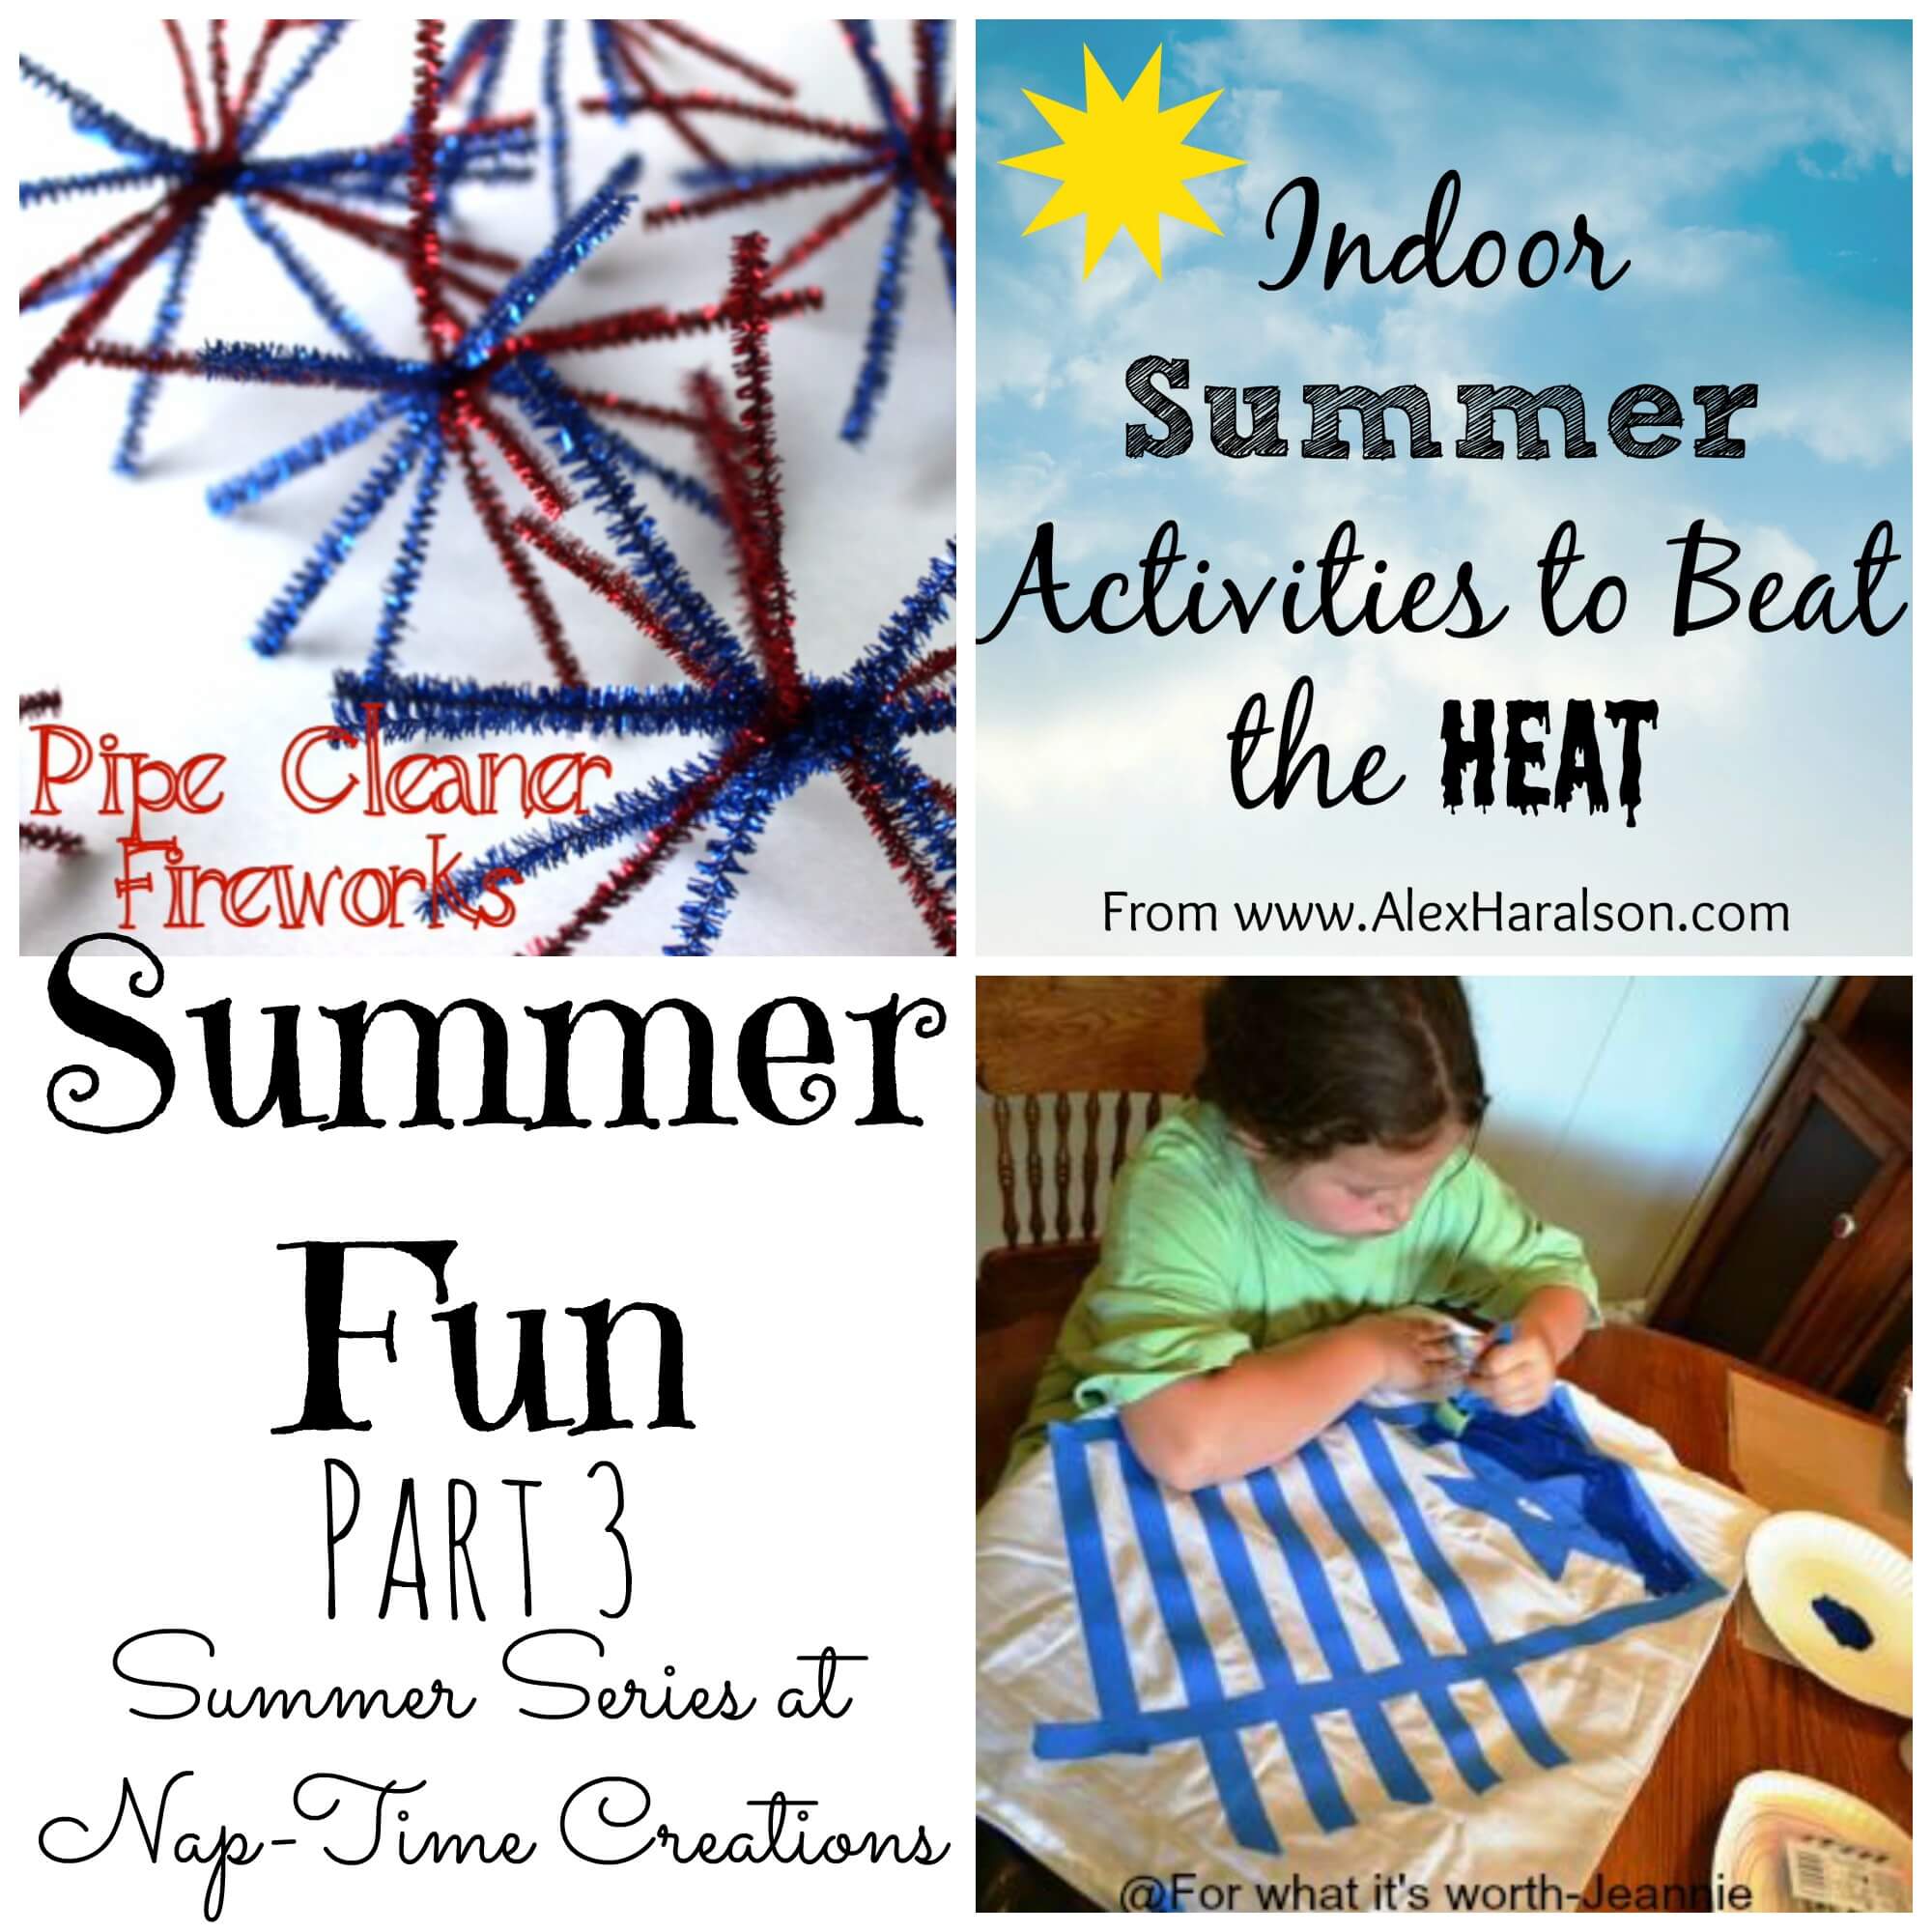

Summer fun 3
Pottery Barn Knock off Pillow by For What Its Worth
Pipe Cleaner Fireworks by Hoyby Crafts
Indoor Summer Fun Ideas by Alex Haralson on Nap-Time Creations
Check out the fun posts from last week: Summer Fun part 2
Banana Pudding Pops by Ginger Snap Crafts on Nap-Time Creations
Tin Can Lanterns by About a Mom
Crabby Onesie by My Mom Made That

Wednesday, July 31, 2013

Revamped-Mug stand to jewelry-holder


I currently can't get enough of thrift stores and finding items on the cheap to makeover into items that are fun and functional! This past week, I found a mug holder at my local thrift shop in the ugliest color of green I have ever seen! I've been working very hard lately to see past ugly colors and marks on products like this one, so after determining that the item itself was in great shape and was able to be revamped, I paid my $.99 and brought that bad boy home with me, determined to turn it into a bracelet holder using chalkboard paint (which, I absolutely love and encourage any crafter to purchase and have on hand at all times!). I sanded it, sprayed two coats of chalkboard paint on it, let it dry and Voila! I plan to keep this on my nightstand to hold all of my bracelets, but I may also use it in the future for craft shows to display bracelets I've made, along with their prices, which can be easily labeled with chalk! Yaaay for old items made new again (and for very little moolah, no less)!

Before-seriously, how uggo is this color of green?
After
                         

Ta-Dow!!!


Saturday, July 6, 2013

Despicable Me Minion Popcorn Bucket

In celebration of Despicable Me 2, in theatres NOW, and the return of the MINIONS (who...in my humble opinion, are some of the best characters ever created), I've created a bucket resembling these adorable creatures to use for movie theatre popcorn, snacks, or simply to shovel sand on the beach. Whatever your mischievous little heart desires...

Materials:

-yellow, sand pail (I found mine at Michael's for a little over $1...Whoop!)
-felt (white, black, gray, red, and brown)-one sheet of each color is plenty and scraps will suffice for the red
 and brown parts if you've got 'em!)
-low-temp glue gun and glue sticks

Template:
(be sure to expand picture to 8.5"x11" size for correct sizing)


How-To:

1. Use templates above to cut out felt shapes in colors designated.
2. Determine which side of the pail you wish for the face of the minion to be and glue the white circle
    (eyeball) in the center of the side chosen. Be sure to glue only the middle of the circle, as you'll need to
    place the goggle straps under each side of it.
3. Glue one of the goggle straps behind the eye on one side and around to the middle of the opposing side of
    the pail. Do the same on the opposite side so that the straps connect in the middle. Cut off excess if the
    straps overlap.
4. Place the gray felt (goggle) on top of the white circle and glue down entirely
5. Glue the brown circle in the middle of the white circle.
6. Glue the black circle in the middle of the brown circle.
7. Glue the red tongue to the bottom of the black mouth.
8. Glue the teeth along the top of the black mouth.
9. Glue the entire mouth to the bottom of the bucket.


Friday, March 22, 2013

How To: Toy Car Holder and Felt Road Roll Up


Here is a project I have been wanting to do for a while! My nephew, Royce turned one in September, and, while his motor skills may not quite be prepared to play with this to its fullest extent, I think its a gift he will love, not only now, but even more so down the road. It is certainly a gift I think his parents will appreciate, as its easily transportable and can be used in lots of different environments and situations. I have seen projects similar to this, but I wanted to fashion something that could hold a few more cars than what I had seen, along with a much bigger area in which to "drive." Here is how to make your own:

Materials:

-blue felt
-yellow felt
-sewing machine
-black felt
-double-sided, fusible web (I used Steam-a-Seam Lite)
-ironing board/iron
-green felt
-white felt
-brown felt scraps
-pinking shears
-scissors
-toy cars (7-8)
-craft glue
-8" elastic
-needle
-thread

Directions:

1. Cut out a piece of 18" x 36" blue felt
2. Using black felt, cut out pieces of road to adhere to blue felt (I cut out a piece at a time and placed it on the blue felt to determine how much space I had remaining for additional pieces)
3. Trace each piece of road onto fusible web. Cut out and adhere to road pieces. Align road pieces onto blue felt according to where you would like it to be permanently located
4. Set iron to "wool" setting and follow the directions of the fusible web to adhere road pieces permanently.
5. Cut out a 3" x 18" yellow felt piece and align on the bottom of the blue felt. Pin the yellow and blue felt pieces together along the edges
6. Sew along the edges where pinned.
7. Measure and pin every 2 1/2" of yellow felt. Sew 7 vertical stitches where pinned to form car pockets.


8. Cut out small, rectangular pieces of yellow felt to form the dashes on the road. Using craft glue, adhere felt.
9. Using pinking shears and scissors, cut green and brown felt to create trees and bushes. Adhere along the road and surrounding area using craft glue
10. Cut cloud shapes out of white felt and adhere using craft glue.


11. Using pinking shears, create a sun out of yellow felt. Adhere in top corner of blue felt using craft glue.
12. Allow about an hour for pieces to dry
13. Loop a 12" piece of elastic and hand stitch both ends to the bottom of the second pocket


14. Place toy cars into pockets, leaving the middle pocket empty


15. Fold the car holder/road in half vertically and roll toward the elastic strip


16. Stretch elastic around rolled felt piece


This project shared with the following awesome blogs and websites:

Tatertots and Jello, Be Different, Act Normal, Cheerios and Lattes, i heart nap time, Flamingo Toes, Skip to My Lou, Sew Can Do

Sunday, September 18, 2011

Simple, Inexpensive Earring Holder


Handmade MULTI-earring holder


Between the earrings I buy and the earrings I make, it is safe to say that I have a PLETHORA of earrings in my collection. The trouble I have had is storing them. Jewelry boxes don’t have enough room and force the jewelry to get tangled and earring holders are often more than I wish to spend for the small amount of earrings they hold. As a result, I found myself scouring my local craft stores for some way to fashion something that will stand on its own and hold LOTS of earrings. After almost an hour in the store, I decided on an embroidery ring and a large sheet of plastic, embroidery canvas. I used a glue gun to place glue on the inside of the embroidery ring. I then rolled the canvas into a cylinder and placed the bottom of the cylinder into the embroidery ring, so that the bottom edge of the canvas attached to the glue inside the ring. I then placed a line of glue along the area in which the plastic canvas overlapped itself along the side of the cylinder and VOILA!!! I have not counted how many earrings I could potentially place on my new holder, but I think it is safe to say I now have a reason to make many, many additional pairs.