Showing posts with label decoration. Show all posts

Wednesday, October 22, 2014

Simple, Embroidery Hoop Pumpkins


Here's a fast and super simple project you can finish just in time for Halloween! And the best part is you can keep it up through Thanksgiving to give your house that great, fall feel! Chances are also good that, if you're a craft nerd like me, you probably have all or most of the materials required to create this project! Check out the tutorial below to get started...


Materials:

-embroidery hoops-I used three different sizes, 6", 8" and 10"
-fall or orange fabric cut into squares slightly larger than the corresponding hoops
-green raffia
-2 feet of ribbon or fabric strip
-glue gun and sticks


Instructions:

1. Place the fabric square on top of the inner ring of the embroidery hoop (aka, the one without the metal parts) so that it is completely covered.
2. Place the outer ring on top of the fabric and inner ring and tighten using the screw at the top so that fabric is taut.
3. Repeat this process for the two remaining rings.
4. Trim the excess fabric from around the ring so that no extra fabric remains.

5. Tie about 4 strings of raffia around the tops of each embroidery hoop into a bow.


6. Lay the fabric strip or ribbon across the backs of the embroidery hoops with 2-4" in between each hoop. Leave about 5" above the smallest hoop to create a loop from which to hang the decoration. Glue the fabric strip or ribbon to the backs of each hoop and at the bottom of the loop.
P


Hang and enjoy!

Happy Halloween, goblins and ghouls!!!


Thursday, June 19, 2014

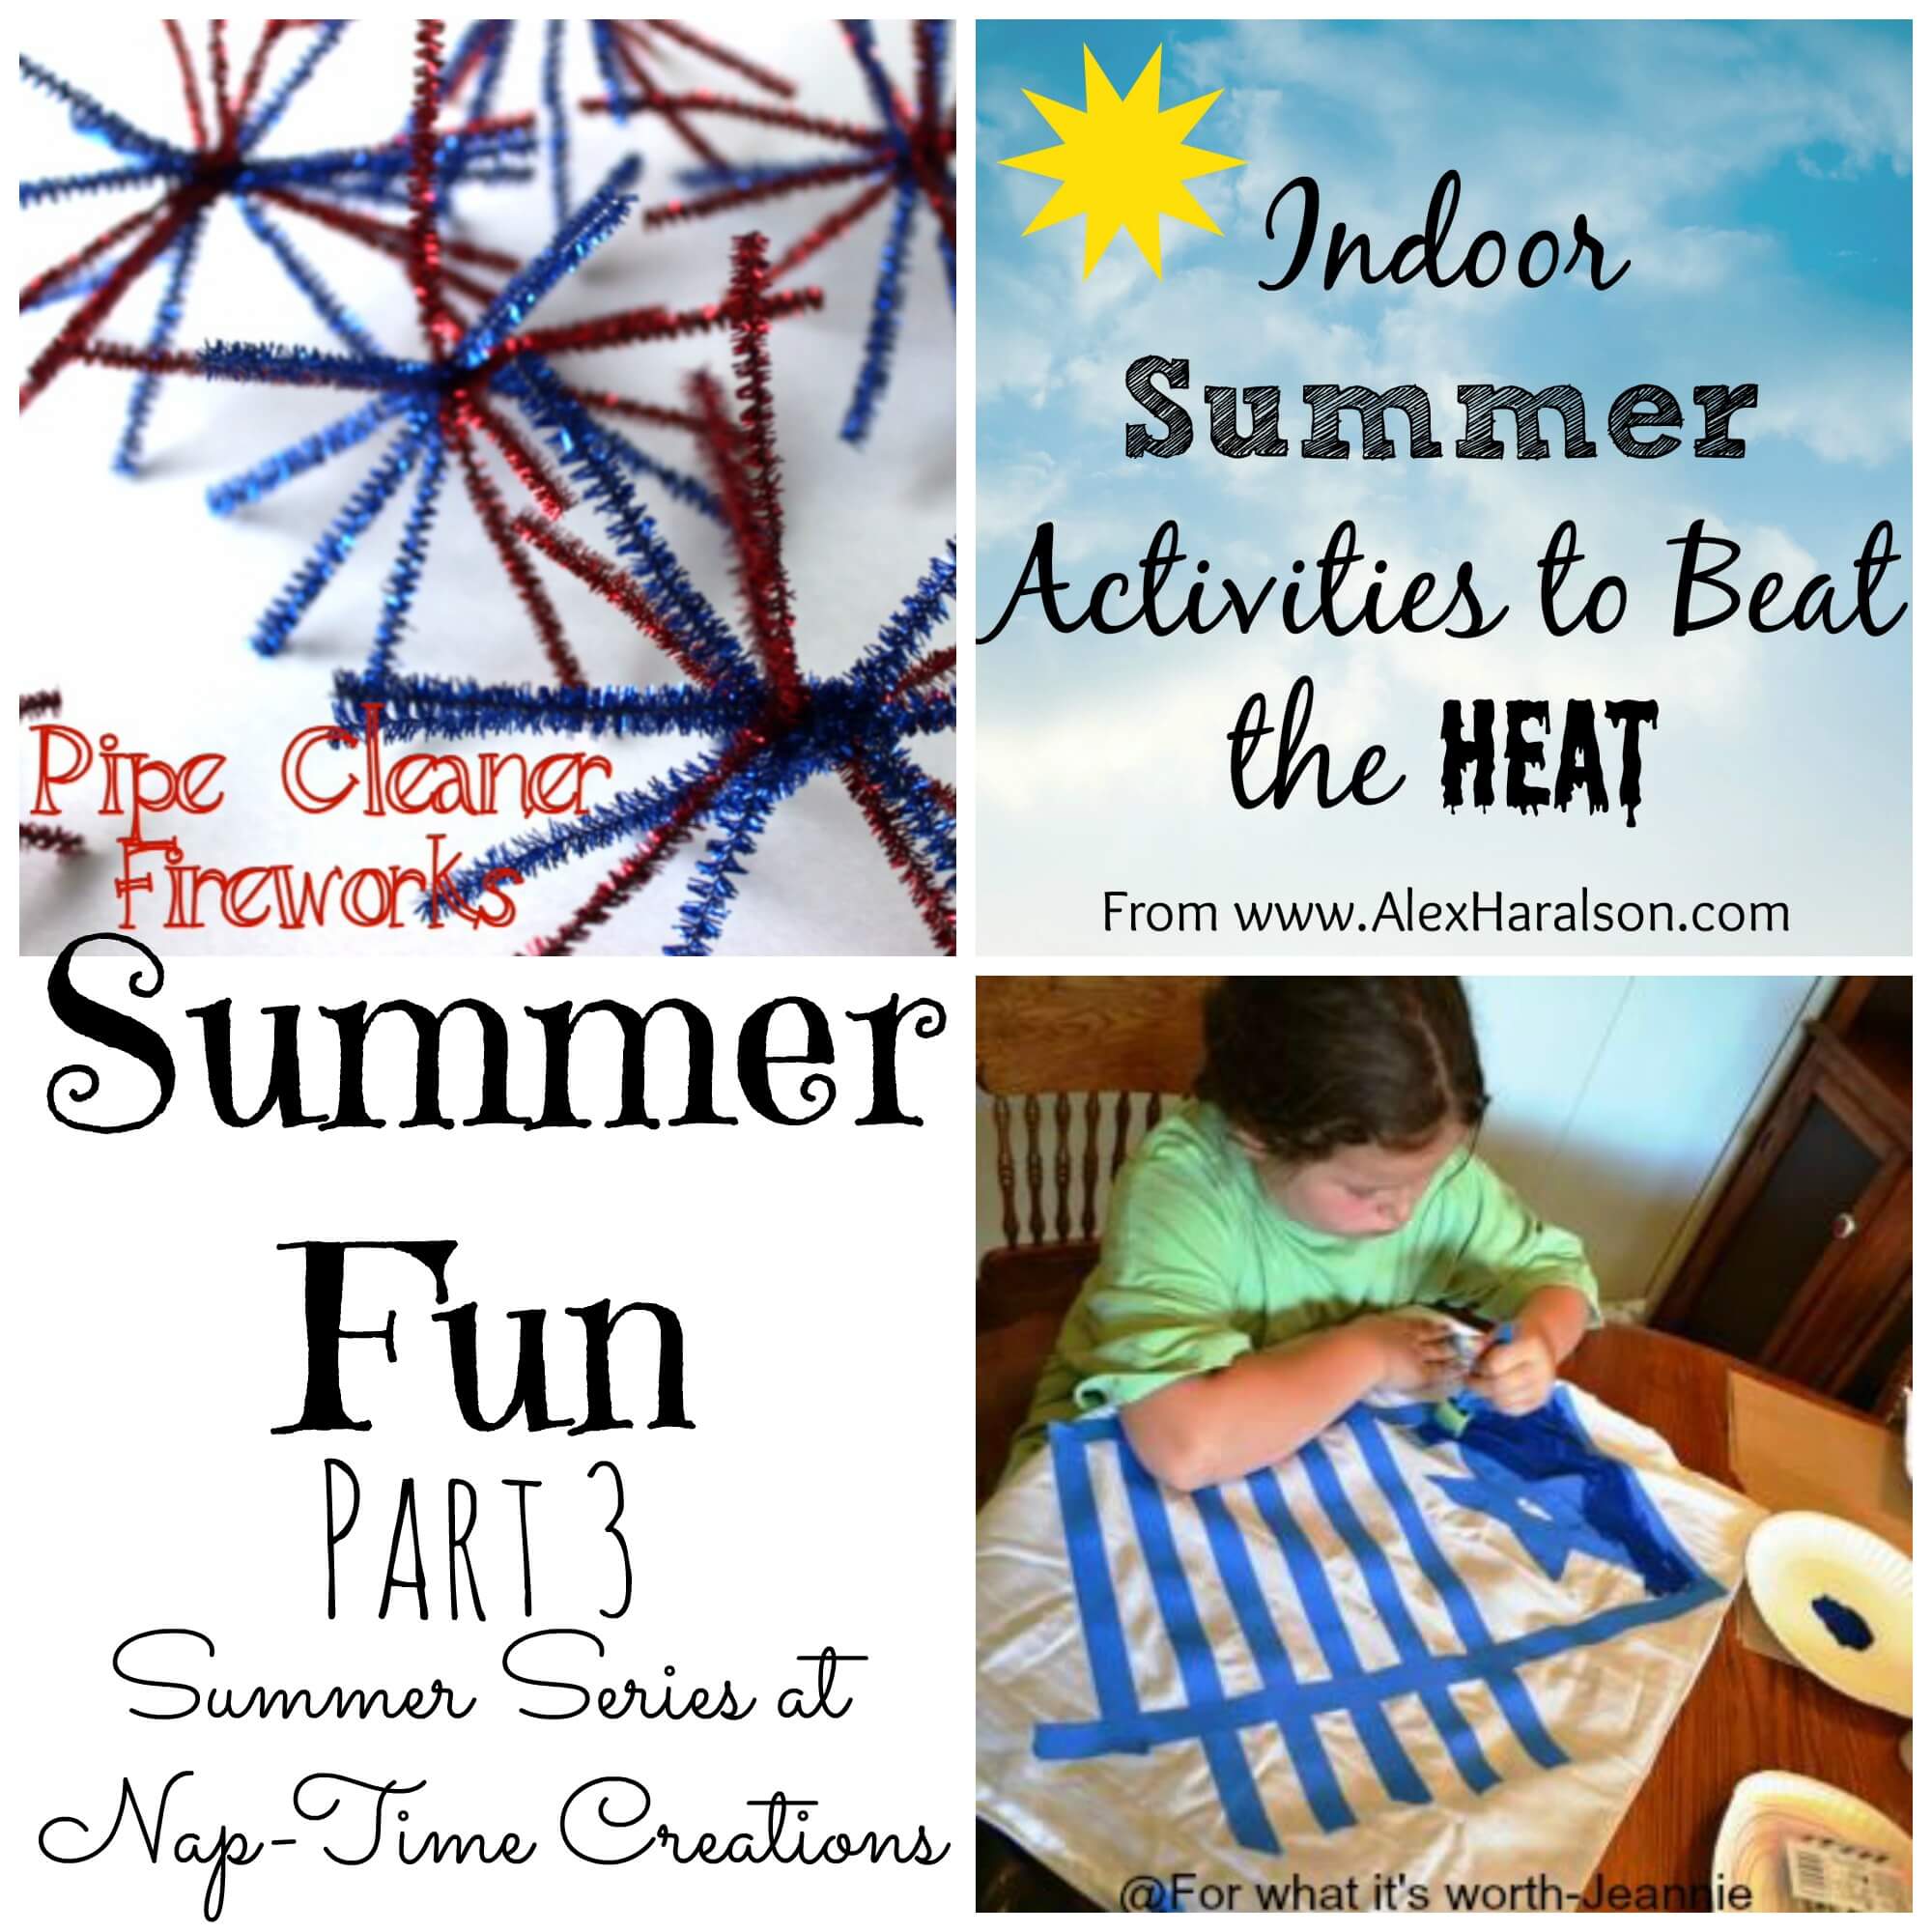
Pipe Cleaner Fireworks


This week, I have the extreme pleasure of joining up with Emily of Nap-Time Creations, along with lots of other amazing bloggers to present a huge assortment of summer fun activities, recipes, DIY's, etc. Please hop on over to the blogs and projects featured at the end of this post for all of the amazing ideas!

Ahhhh, summer! How do I love thee? Let me count the degrees! School is out, pool is open, and picnics are upon us! If that's not enough, summer also brings with it the celebration of the amazing country in which we live! And fireworks...So. Many. Fireworks! I mean, really, is there anything cooler than watching an array of colors, light, sparkles, and noise explode above you? I think not! Here is a fun way to get the kiddos involved in the excitement of the approaching Fourth of July by creating some cute and simple fireworks of their own...
Materials:

*red, sparkly, pipe cleaners (2-3 per firework)
*blue, sparkly, pipe cleaners (2-3 per firework)
*scissors

Instructions:

1. Cut 2 red and 2 blue pipe cleaners in half. Place all pieces into one bundle so that the ends line up.

2. Using a small piece of another pipe cleaner (about 4"), wrap it around the middle of the bundle, securing all pipe cleaners in place.

3. Pull each piece of the bundled pipe cleaners apart and in various directions to form a firework.
4. Adjust pipe cleaners so that they are spread somewhat evenly in all directions.

The options for these little creations are truly limitless. I am currently using mine to embellish the Fourth of July display in my home. Here are some other suggestions to use to celebrate your American pride:


*Place on your table as decoration for Fourth of July dinners and picnics
*Use as place card holders
*Wrap them around dowel rods and place in a vase for a cute and patriotic centerpiece
*Give as gifts to friends, teachers and family members with a tag that reads "You're a real firecracker!"
*Tie fishing wire around them and hang for added sparkle


GOD BLESS AMERICA!!!!!


Summer fun 3
Pottery Barn Knock off Pillow by For What Its Worth
Pipe Cleaner Fireworks by Hoyby Crafts
Indoor Summer Fun Ideas by Alex Haralson on Nap-Time Creations
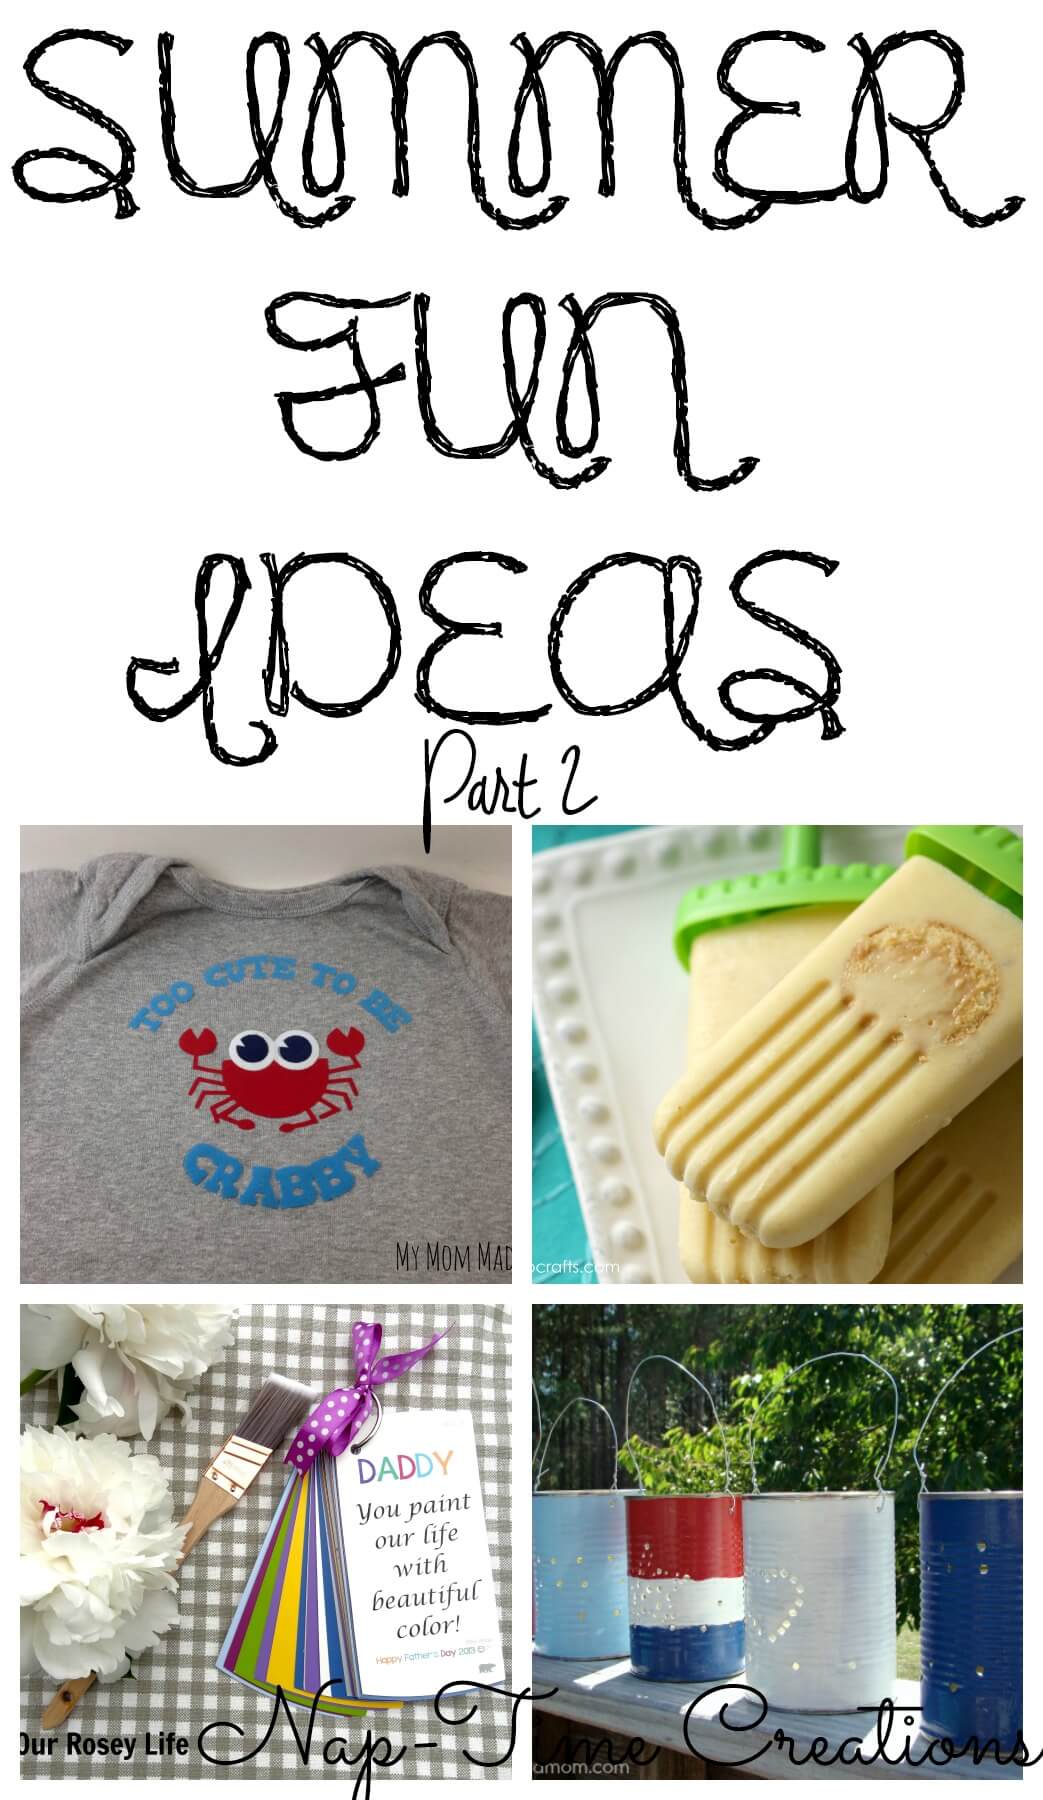
Check out the fun posts from last week: Summer Fun part 2
Banana Pudding Pops by Ginger Snap Crafts on Nap-Time Creations
Tin Can Lanterns by About a Mom
Crabby Onesie by My Mom Made That

Wednesday, May 7, 2014

Union Jack Duck Tape Funsies

Have you ever taken the time in a craft store (or Wal-Mart and Target, for that matter) to just look at ALL of the Duck tape options out there! Its crazy!!! Zebra print, tiger print, mustaches, pickles, Minions...you name it, Duck brand has made it! Unbelievable! On my most recent (of MANY) trip to the craft store, I came across Union Jack Duck tape!!! Be still my British heart! In the next aisle over, I discovered chipboard, stand up letters. Kismet! I knew my British grandparents (whose last name starts with "D") had to have a Union Jack letter D to adorn their American household! Here's how its done...

Materials:

-Chipboard letter ("D," in my case)
-Union Jack Duck tape
-scissors
Instructions:

1. Begin by covering the edges of the letter, folding the excess onto the front of the letter
2. Cover the inside of the letter with tape
3. Cover the remaining space on the front of the letter

In case you're not counting, that's 3 steps! That's all it takes, folks! The options are limitless and add tons of flare to mantels, walls, and wherever your little heart desires!

Sunday, December 8, 2013

Jenga Block Christmas Tree


Jenga!!! I used to love playing that game (although I never faired well playing it, as I was the girl who always knocked down the tower AND, as a result, had to be the one to set it back up)! On a recent trip to my local thrift store, I came across a bag of Jenga blocks for $.50 and had to have them. For what? I wasn't sure, but knew I would one day put them to good use! That day is now, my friends! After some time spent arranging and re-arranging, I transformed the blocks into a Christmas tree that I then painted and made into a wall hanging. Love it!!! Here's how you can make one of your own...

Materials:

-Jenga blocks (I used 53 of them!)
-glue gun/sticks
-sandpaper
-acrylic paint (I used a dark green, brown, light green, white, and burgundy, but the options are truly limitless!)
-sponge paintbrush
-circular, sponge brush
-sealant
-ribbon

Directions:

1. Using a glue gun, adhere Jenga blocks using the model below (each horizontal row gains two more blocks than the one above it).
2. Once the glue has dried, sand the surface of the tree to make the paint adhere more successfully
3. Paint the surface of the tree with two coats of dark green, acrylic paint and the "trunk" in brown
4. Once the paint has dried, use the circular, sponge brush to create dots all over the tree with white, acrylic paint.

5. Repeat the process of making dots using the light green, acrylic paint
6. And again with the burgundy paint
7. Finally, add dots of the original green color to the tree to cover up any spots that may have smudged.

8. Spray the tree with a sealant and let dry.
9. Fold a 5 inch piece of ribbon in half and adhere loose ends to the top of the tree, leaving a loop to hang up

Voila!!! Its yours to display proudly!

Saturday, November 16, 2013

Ribbon Turkey Vase

With turkey day fast approaching, I thought I'd add a little throwback project into the mix! While putting out Thanksgiving decorations, I came across this little gem I made a few years back for an online competition run by The Dollar Tree (2nd place, what what?!?!) using items found at their stores. The coolest part? The vase used as a base for this project gives this turkey a huge number of possibilities: add lights for extra sparkle, use it as a candy holder, the sky is the limit! Here's how to  make an adorable gobbler of your own:

Materials:


-scissors   
                                    
-1/2” width red ribbon spool
                      
-1 ½” width brown ribbon         

-glue gun and sticks
-1 ½“ width orange ribbon
-pipe cleaners                     
      
-large google eyes
-glass vase

Instructions:
 
1.    Wrap brown ribbon around the glass vase in a criss-cross fashion, adding dots of hot glue to secure

2.    Cut two “wings” out of brown ribbon and glue to the sides of the vase.

3.    Using the brown and orange ribbon, cut four feather shapes out of each color. Cut pipe cleaners to the length of the feathers and glue along the middle of each “feather” so that they are now sturdier and more flexible (the pipe cleaner side of the feather will be facing away from the turkey when pieced together)

4.     Fan out the brown and orange feathers and glue towards the opening of the vase on the side that you have designated to be the back of the turkey.

5.   Using the orange ribbon, cut off a 4” piece and fold in half without creasing. Glue the ends of the ribbon together to form the turkey’s “beak” and glue the opposing end of the ribbon to the front of the vase near the opening.
6.    Fold and glue red ribbon into “B” shape and glue beside the beak for the “gobbler”

7.    Glue google eyes toward the top of the vase


Wednesday, April 24, 2013

Rustic Tree Trunk Candle Holder


tree, trunk, candle holder, rustic, centerpiece, vase, wood
The gorgeous tablescape
 

When I attended my cousin Sarah's 30th birthday party in February, I had no doubt I could count on three things: good music, good food, and good people. Little did I know that my aunt and uncle would also throw in some awesomely crafty centerpieces and decor, as well! They went above and beyond to set up the tables at the party. For the center of the centerpiece, My uncle, Kevin cut each of the logs and branches out himself and hollowed out each of their tops large enough to fit a tealight. Using logs of three different lengths, my aunt, Rita adhered them together with a very strong epoxy and tied brown and green twine around them. Thankfully, she allowed me to take one home with me, as I fear I would've snatched one up with or without permission! As if that wasn't enough, Kevin also cut holes into smaller pieces of log to turn them into faux flower vases (I also currently own one of these in my household...thanks, Uncle Kev!). Rita also used white, cupcake liners (and lots of 'em) to create the adorable bouquets that sat atop glass bowls and battery-operated tealights. The party was a wonderful time, and the birthday girl made 30 look good; however, now the pressure is on for all future parties to come. Can't wait to see what kind of creation they hold...


tree, trunk, candle holder, rustic, centerpiece, vase, wood
Another view of the decor


tree, trunk, candle, candle holder, centerpiece, rustic
Centerpiece for the gift table


tree, trunk, candle holder, rustic, centerpiece, vase, wood
The yummy and super-creative appetizer table